When you lose a file or an application from your Windows device, you can easily get them back using methods we demonstrate extensively. You can utilize Recycle Bin, File History, System Restore, data recovery applications, and many other options to restore a deleted or corrupted file. But what if your whole computer breaks down? After all, none of the methods mentioned above can help you fix a broken system and rescue the operating system or its files. That’s where the System Image comes in, which can help you recover data.
It assists users with repairing their entire broken system if they create a system image backup beforehand. In this article, we will show you how to recover data using the system image in a Windows 11 device. We will also demonstrate creating a System Image Recovery backup that will help you perform such a feat. Without further ado, let’s dive in.
Can System Image Help You Recover Data?
System Image Recovery is one of the best data restoration features that comes with every Windows 10/11 device. It was built to help Windows users make a complete data recovery if the computer ever suffers from a severe case of data and system file corruption. Once you perform it, a broken system can be restored to full functionality again. It can revert your corrupted system to its previous state as well as perform the restoration of programs, system files, OS, apps, settings, and more.
There is only one condition—you need to create a system image before you lose your file or your system breaks down. That’s why, before we jump to the details of system image recovery, we need to show you how to generate one.
How to Create System Image in a Windows 10 or 11?
Creating a system image of your Windows computer is possible via external storage media such as an external hard disk drive, SSD, flash drive, network drive, and even a NAS (network-attached storage). Follow the steps mentioned below to make a system image backup:
- Plug in the external storage media to your computer. (In this guide, we focus on creating a system image using external storage mediums.)
- Click on the “Search” icon located in the taskbar and type “Control Panel.”
- Once the “Control Panel” shows up in the search result, click on it. The Control Panel window will show up.
- Navigate to System and Security → Backup and Restore (Windows 7).
- Note that we are using the process to create a System Image of a Windows 11 device. It’s just that the name of the option is “Backup and Restore (Windows 7)”.
- Now, in the left panel, click on the “Create a system image” option.
Inserting an External Drive to Save the System Image
Your computer will start scanning for storage mediums to save a backup of your computer’s data. Thus:
- Choose the external storage media you have plugged in from the available options and click on the “Next” button to continue.
- Select the drive partitions of your computer’s HDD that you want to backup and click on the “Next” button again.
- Now, a list of your selected drive partitions will show up for a short review. Once you confirm that everything is okay, click on the “Start backup” option.
- The selected files will be backed up to the external storage medium. Wait until the process finishes. Once it is complete, close the wizard and disconnect the external storage media, which now has the data belonging to your computer.
Now, your system image recovery disk is ready. You can recover your lost data using the system image recovery disk in a Windows device.
Recover Data Using System Image on a Windows Machine
If you have made a system image backup before your computer’s data was wiped or your system broke, you can easily recover your file by performing a system image recovery. Please note that if your system has been broken, you might need a bootable Windows USB drive to even start using the system image recovery process. In this guide, we will assume you are stuck in the worst-case scenario, and show how to perform System Image Recovery while using the bootable USB drive. Follow these instructions to initiate repair via a system image:
- Connect the external storage media that contains the system image backup to your machine.
- Now, plug in the bootable Windows USB drive to your PC and boot into your computer using it.
- Once you get into the Windows recovery environment, click on the “Repair your computer” option.
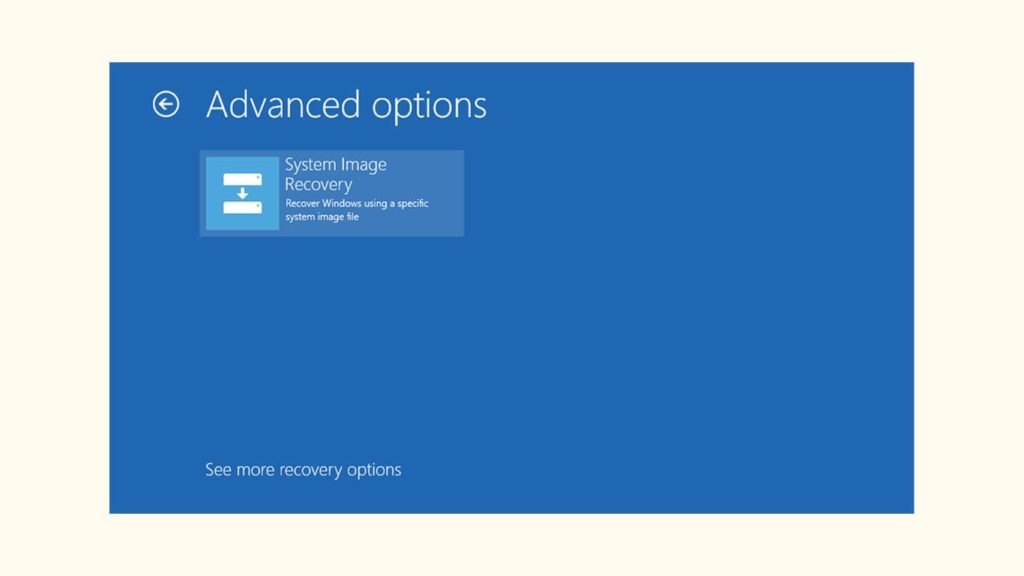
- After that, navigate to Advanced options → Troubleshoot → System Image Recovery.
- Next, the “Re-image your PC” window will show up. It will automatically detect the external storage media that contains the system image backup.
- Now, select the “Use the latest available system image (recommended)” option and click on the “Next” button.
- Click on the “Next” button once again to continue further.
- After that, click on the “Next” button and then click on the “Yes” button of the new prompt to start the disk imaging process.
- It might take a few minutes to finish the disk imaging process. Once the process is complete, click on the “Restart Now” button and immediately remove the bootable storage media.
Now, your computer will be able to boot using its hard disk drive and all deleted data should be restored to your computer.
