
Since the macOS Sur and macOS Monterey came to the scene, many users have either already updated or plan to update their operating system (OS) to these latest versions. At the time of publication, macOS Ventura is on the way. Most of the time, the Mac users complete the operating system upgrades without issues and wait for the next software updates. However, tens of thousands of such users have suffered from multiple types of problems after updating their Macs. For example, data loss and corruption are two major setbacks for them in this situation. Therefore, in this article, we will show you four ways to recover lost files after a macOS update. Let’s dive in.
1. Recover Lost Files After macOS Update via Trash Bin
Without a doubt, Trash Bin is the first place you should look for the lost files after a macOS update. Even if the chances are slim, you can still find the files you are looking for there. Here’s what you need to do to recover lost files from Trash Bin after a macOS update:
- Click on the “Trash Bin” icon on the “Dock” to open it.
- Once the Trash Bin window opens, search for the files you want to recover from the available content stored inside it. And if you remember the file name — even better. You can just go to the “Search box” of the Trash Bin and type the name of the file. If the file exists in the Bin, you will be able to see it in the available search results.
- Now, select the file you want to restore and right-click on it. After that, click on the “Put Back” option.
There it is. The file should be restored to its original location just before its deletion. However, if you didn’t find the lost files in the Trash Bin – don’t worry. You can still recover the lost files using the other methods we mentioned in this guide. If you need detailed instructions, you can read our article, how to recover data from Mac trash.
2. Use Time Machine to Recover Lost Files Following a macOS Update
Time Machine is one of the best backup and restoration tools for users that comes built-in with every Mac. This tool allows you to backup your Mac’s data at regular intervals. Thus, if you ever lose an important file or folder, you can use Time Machine backups to restore the files. Because of that, the Mac experts always recommend backing up your data using Time Machine before you install a major Mac update. Therefore, if you have backed up your Mac’s data using Time Machine, follow these instructions to restore lost files after the macOS update:
- Connect the storage media that contains the Time Machine backup files to your Mac.
- Now, open the folder to which the deleted files originally belonged.
- Next, click on the “Time Machine” icon located in the macOS menu bar to open the drop-down menu.
- Click on the “Enter Time Machine” option.
- Once you enter the Time Machine, look for the files you would like to recover and select them.
- Click on the “Restore” button and the files will be rescued to their original locations.
3. Utilize Your iCloud Backup to Get macOS Files Back
Do you use iCloud to backup your Mac’s data regularly? If you do, then we have good news for you. iCloud backups are one of the fastest and easiest ways to recover the lost files after a major macOS update. All you need is a stable internet connection and your Apple ID. Follow these steps to employ an iCloud backup to restore the erased from your Mac:
- Open the browser on your Mac and go to the official iCloud website.
- Sign in to the iCloud account using your Apple ID credentials.
- Click on the “Account Settings” option, which is located right below the avatar of iCloud’s welcome message.
- Next, go to the bottom of the page and click on the “Restore Files” option located right under the “Advanced” section.
- Now, iCloud will start scanning for the available recoverable files. It might take a few moments, so please be patient. Once the scan is complete, the list of recoverable files will show up.
- Look for the files you want to restore and select them all.
- Click on the “Restore” button to start the recovery process.
- The recovery process might take a few moments. Once the process is complete, click on the “Done” option.
Voilà! The file recovery from the iCloud backups is complete. With this service, you can backup and recover not only the deleted Mac files, but also the lost calendar events, contacts, and even the bookmarks. To illustrate our point, check our guide on recovering important iPhone calendar events and appointments.
4. Restore Files from Mac After OS Update via Data Recovery App
If none of the methods that we pointed out so far worked, it’s time to switch to the data recovery applications to restore your deleted files. Before we go any further, please note that you should always choose a data restoration application that comes from a reputable company. Additionally, the application itself should have positive reviews from both the experts and the consumers.
If you are having a tough time selecting a suitable data restoration app for your Mac, please check out our list of the best data recovery software for Mac. Remember, most of these applications have similar recovery steps. Therefore, no matter which one you pick, this guide will help you retrieve your deleted files if you follow the steps correctly. Now, let’s demonstrate how you can use data restoration software to restore the erased files:
- Download and install the data retrieval software of your choice to your Mac. However, the ideal scenario would be to install the app to a flash drive and connect the flash drive to your Mac afterward when you plan to use the data retrieval application. This way, you can avoid accidental data overwrite, which increases the chance of data restoration.
- Now, launch the application on your Mac and select the drive or folder where the lost file originally belonged before it was deleted.
- Click on the “Search for lost data” or “Scan” option to start the scanning process.
- Once the scan is complete, the application will show you a list of files viable for restoration. Find the files you are looking to restore, preview them, and select them.
- After that, click on the “Restore” or “Recover” button, depending on the software.
- Select the location where you would like to download the chosen files. Click the “OK” button.
That’s it. Now, the files you have selected will be transferred to your chosen location.
How to recover Mac to a working state after a failed update?
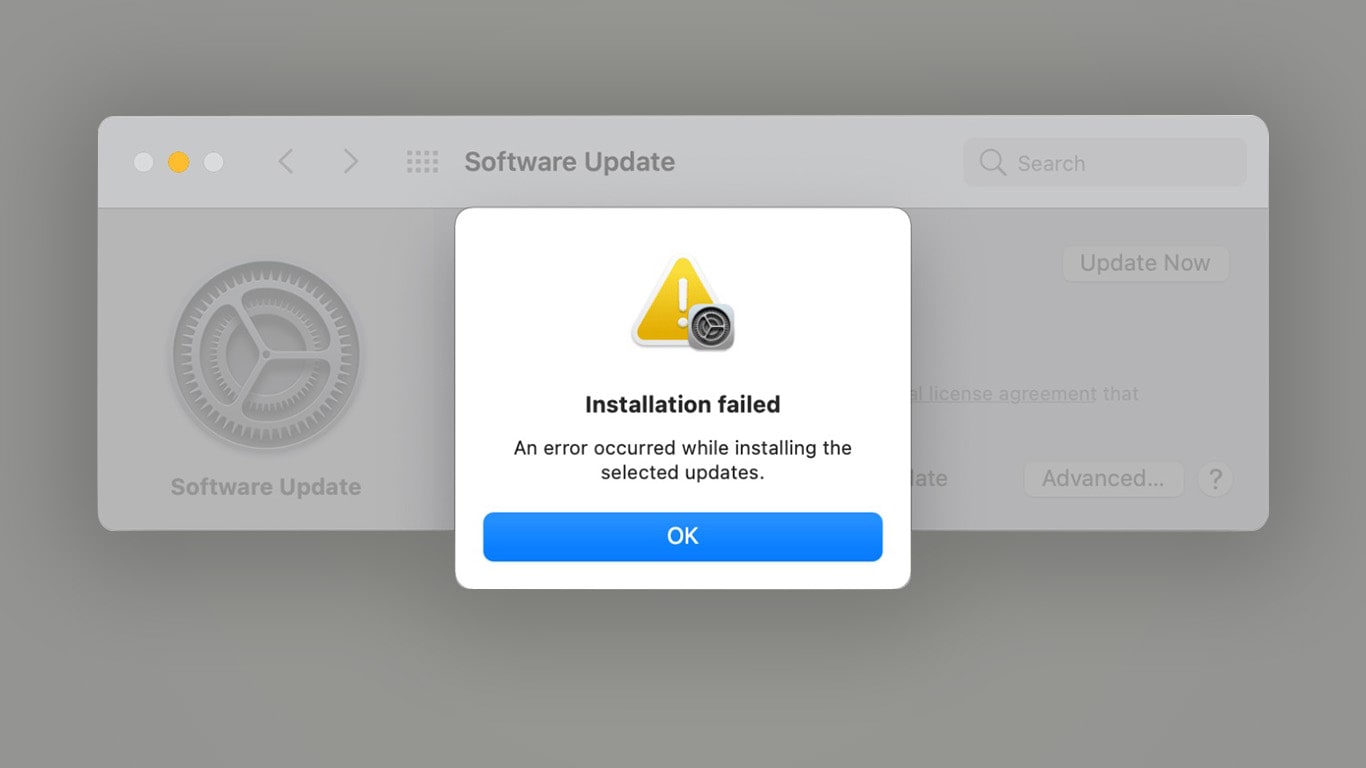
Over the past 15 years, Apple’s Mac OS X has had a good reputation for being a dependable platform. However, knowing your recovery options is essential if you have problems starting your Mac. For example, you may encounter various issues while updating your MacBook or Mac Pro. Sometimes things progress normally, but your Mac may fail to start up, meaning the update failed, and you need to recover access. Different factors may also cause error messages that may go away independently. Let’s go over solutions.
Using Built-in Mac OS X Methods to Recover After a Failed Update
If you can’t start your Mac after an update, don’t fret—you’re not without options. If you set up a Time Machine backup and have previously completed some tasks on your computer without difficulties, you may be able to continue using it. Otherwise, the first option is to use the built-in recovery utilities. To do so:
- Before the Apple logo appears on the screen while booting, press the Command + R keys.
- Hold on a while during this process. OS X will load and execute a small copy of itself that works properly.
- The welcome screen will greet you after the loading has finished. Select your language, then proceed to Continue.
The OS X utility screen displays a list of typical recovery alternatives to try to get your Mac up and running. They are as follows:
Method 1 – Use Disk Utility for Mac
Disk Utility is the first program that is also not too invasive. You can use it to execute basic operations such as disk repair, setting disk permissions, and checking the health of your system. If you select the partition or erase it when you have data you want to recover, be careful not to choose anything named partition or delete. This option no longer applies if you’re running OS X El Capitan (10.11) or later because Apple now secures file system permissions automatically. You can still try it if you’re running an earlier version of OS X like this:
- Select your OS X disk from the drop-down menu in the sidebar.
- Pick the First Aid button.
- Select the Repair Disk option from the drop-down menu.
If the Disk utility does not help, using OS X’s Reinstallation feature will. However, using the latest iMac model depends on having a high-speed internet connection. Because OS X is rather big, between 6 and 12 GB depending on the version, it might take some time to download, even on a fast connection. Think carefully about your choices when utilizing this function.
Method 2 – Install macOS From Scratch
You can also install OS X from scratch if ready to go all out. This will erase all your data, so ensure you’ve backed everything up before proceeding. Now:
- Select the option for deleting all data in the sidebar under the OS X disk one.
- Proceed to choose the Delete tab and choose Security Options.
- To write zeroes over every byte of space on your drive (wipe it clean, essentially) select Zero Out Data from the drop-down menu.
- When the drive is formatted, no one should be able to recover its content. Depending on the size and speed of your drive, this may take some time. After it’s finished, close Disk Utility and move on to Mac installation.
Method 3 – Utilize Time Machine Backups
As a Mac user, you may believe the “it just works” approach doesn’t justify investing in backup solutions, but newsflash – it does. Thus, hopefully, you have a backup. If so:
- Select an up-to-date Time Machine backup from the “OS X Utilities” menu and press Continue.
- Connect your Time Machine backup and make sure it is switched on.
- Follow the on-screen instructions so it’s detected.
- Select the latest hard disk backup and click Continue. Your Mac will restore the Time Machine backup and restart to, hopefully, the home screen when finished.
Another option when trying to recover a Mac after the update failed also involves Time Machine backups:
- Connect the external drive that contains your Time Machine backup.
- During the startup sound, press and hold the Option key. The Time Machine backup disc should show up after that.
- Select the most recent hard disk backup and continue by clicking Continue.
- Your Mac will restore the previous Time Machine backup after this process is finished and restart afterward.
2. Cloud-based macOS Recovery (Alternative Boot Method)
Internet recovery is ideal if your macOS has irreparable files and none of the solutions mentioned above is accessible or effective. This allows you to boot directly to Apple servers, where you can download and install OS X on your computer. Unfortunately, this choice isn’t available to all Macs, but it’s worth a shot when other choices have run out:
- When you start your Mac, press Option + Command + R instead of the traditional “Option” key sequence.
- You’ll see an animated globe. Wait a few moments before clicking on the list box and selecting a wireless network to connect.
- Type in the password and follow the on-screen instructions to install a new macOS system.
Cloud services can make things easier; you won’t have to maintain so many accounts and files. Keeping a regular data backup shouldn’t be too difficult either if you utilize the available cloud services. We also strongly advise creating a secure, off-site backup of your system.
