Without any doubt, Facebook has been one of the most prominent social media platforms ever. When Facebook was launched, it was the new buzz in the world. Almost everyone created their own Facebook account, and it marked the beginning of the new digital social media era. Currently, there are billions of people who use Facebook every day, either personally or for business needs. The social media platform allows you to publish updates, called Posts to the public audience. This may be in the form of photos, videos, etc., As time goes by, people may want to delete some of the previous landmarks that they have posted.
However, human mistakes are unavoidable. We may delete a post that we never wanted to delete, by mistake. On keeping this in mind, Facebook also provides a method to recover your deleted posts. Yes, you can restore all your posts from Facebook Trash, similar to the Recycle Bin in Windows. We have listed down the steps to restore your posts from Facebook trash. Just find the category of your data, follow the simple steps listed down, and you can retrieve your posts in no time!
Method 1: Undeleting Facebook Posts Immediately
This method might not work for everyone. It is just a possible way to retrieve your deleted posts. However, there is no harm in trying. Just follow the steps listed below and we will see if you can retrieve your posts.
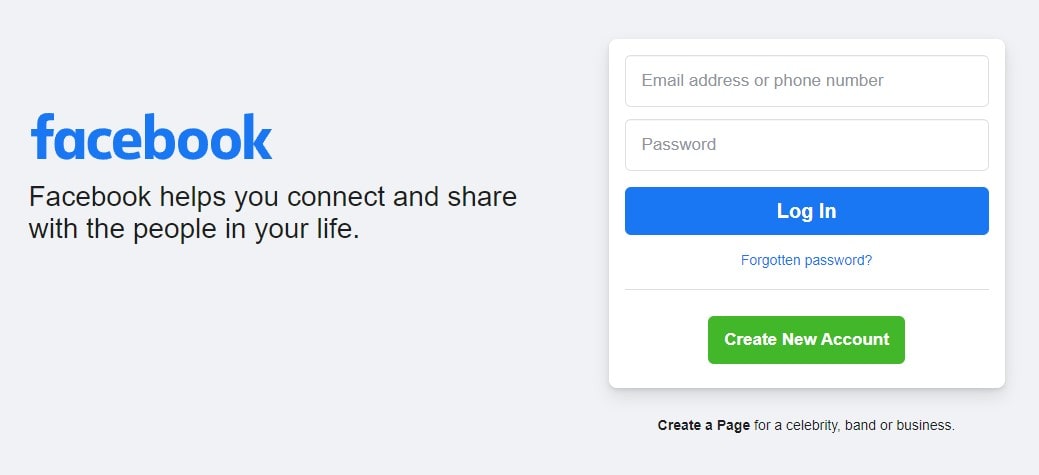
- Go to the official Facebook Homepage. (Through your mobile app or web browser).
- Log in to your Facebook account with your credentials (email/phone number and password).
- Go to the Notifications tab.
- From the recent notifications, check if you have received any notification about deleting your post.
- If there is any notification regarding that, click on it.
- On clicking the notification, you will find the option to undelete the post. Click on it.
- That’s it. Your post is now back to your timeline.
If you don’t find any notification for deleting your post, then you cannot follow this method. Do not worry, as there are other methods that you can try out.
Method 2: Recovering Deleted Posts From Your Information
Facebook actually stores a copy of your entire activity. It also allows you to check this activity. In this method, we will use your Facebook activity to gain access to all of your deleted posts.
- Go to the official Facebook Homepage (Either mobile app or web browser).
- Log in to your Facebook account using your email ID or mobile number.
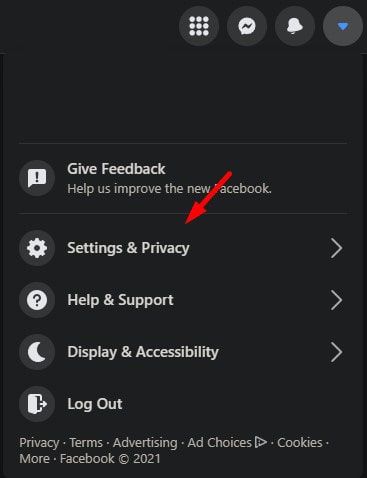
- From the drop-down icon on the top left corner, select Settings & Privacy.
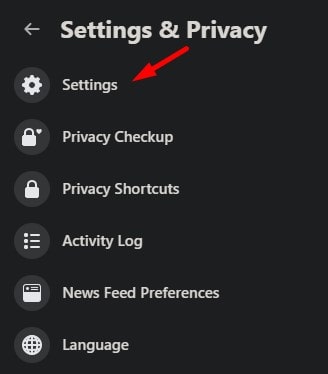
- From the listed options, select Settings again.
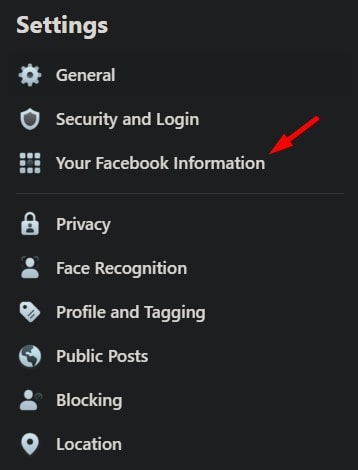
- Your General Account Settings page opens up. From the other tabs listed in the left corner, choose “Your Facebook Information“.
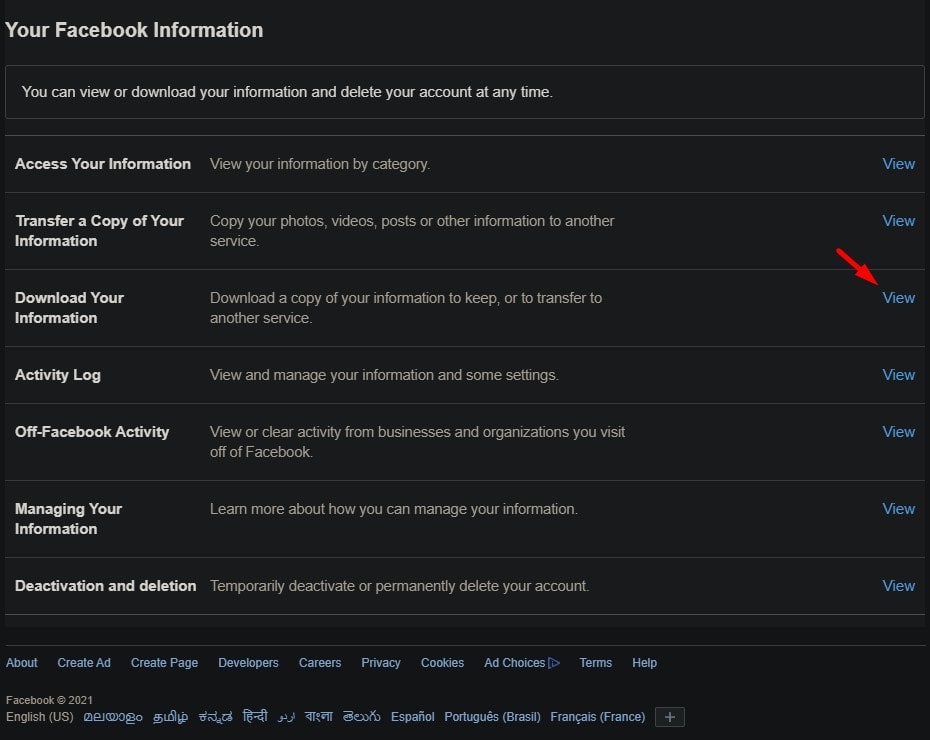
- From this page, find Download Your Information and click on View, located at the right corner.
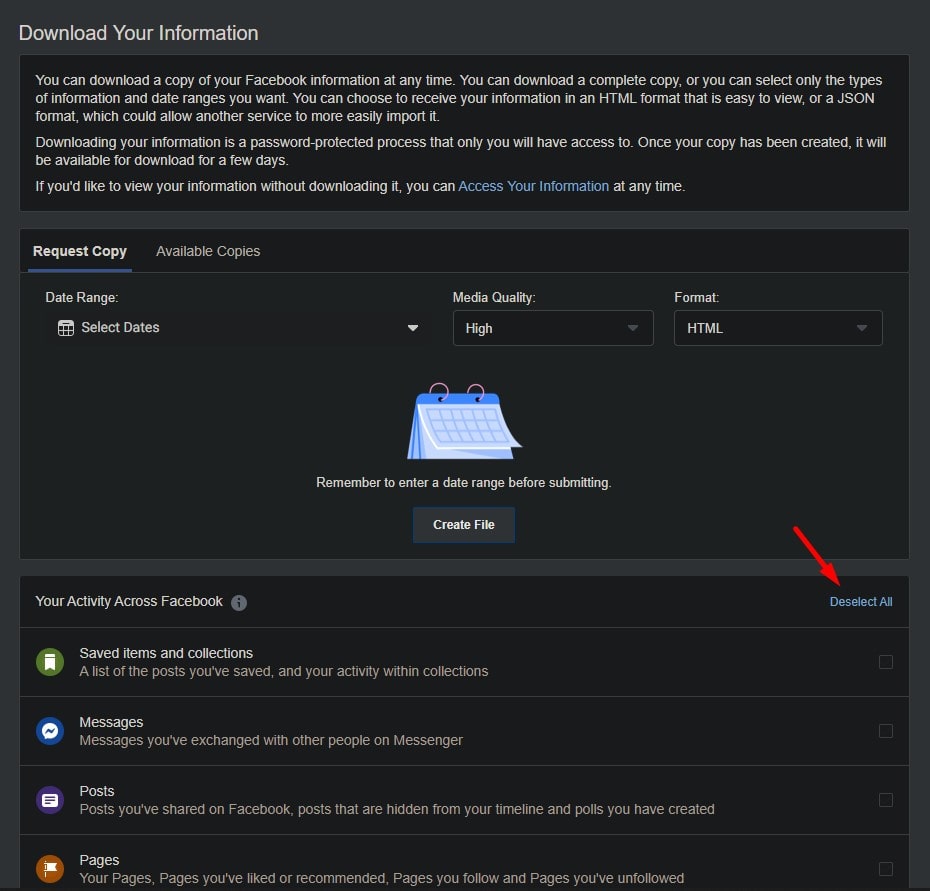
- Another page opens up. Scroll down, and you will find a list of your activities on Facebook below. Click on Deselect all on the right and just select “Posts” if you want to recover your posts.
- Now scroll up again and you will find a small form on the top. If you want to recover posts from a particular date range, you can also use the date filter provided there.
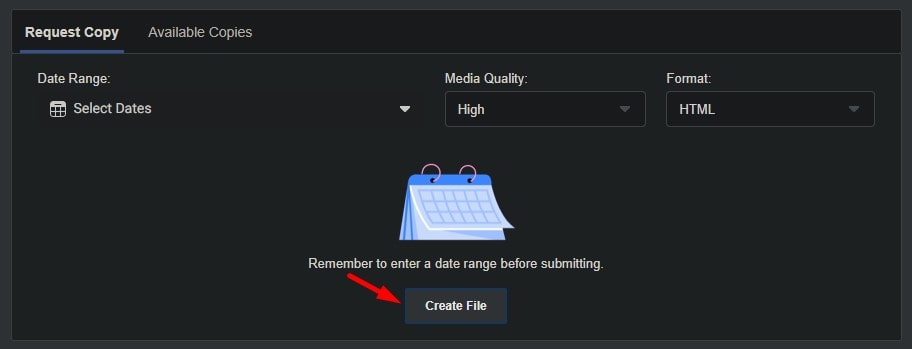
- Click on Create File. This will create a high-quality file of all your posts on Facebook, falling into the date range. This may take some time, depending upon the size of your copy.
- Once your copy is complete, it gets transferred to the next tab labeled “Available Copies“. Click on that. You will be also notified that your information is being created.
- Find the copy that you just created and hit Download. For security purposes, Facebook will ask you to re-enter your password.
- After the file is downloaded, open the downloaded HTML document.
- Here, you will find all the posts that you have posted or deleted, falling under the date range.
- Select the post that you want to recover and you can restore it now easily.
Method 3: Recover Deleted Posts From Facebook Trash
After a long wait, Facebook has introduced a new feature called Manage Activity. This feature is somewhat similar to the Trash in Gmail. Once you delete something (posts, photos videos, etc.) it goes to the trash and stays there for 30 days until it gets permanently deleted. Within these 30 days, you can undo your deletion. Here are the steps you need to follow in order to recover deleted Facebook posts from trash.
- Go to the official Facebook Homepage (Mobile app or web browser).
- Sign in to your Facebook account with your credentials.
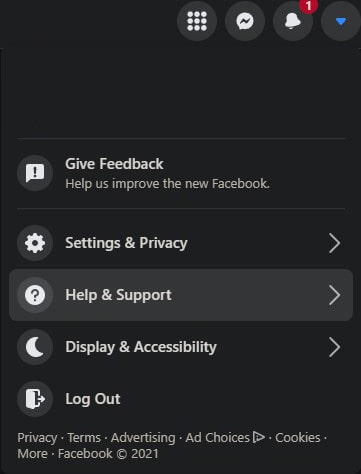
- Click on the drop-down icon from the corner and select Settings & Privacy.
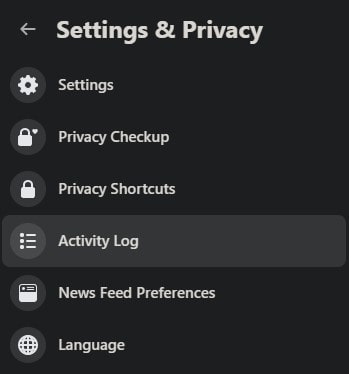
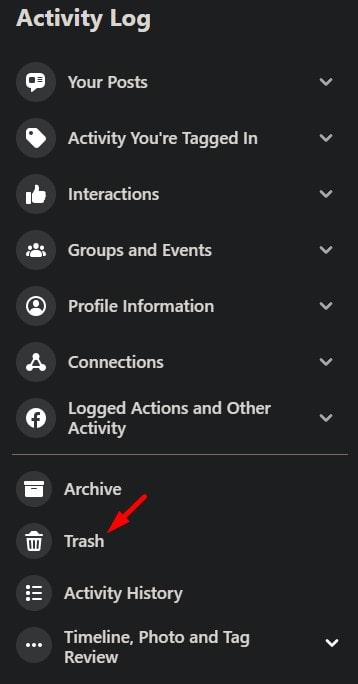
- From the listed options, select Activity Log.
- In the activity log, you will find Trash. Click on it.
- All your deleted posts will be available in the Trash within 30 days of deletion. Find the post that you want to recover.
- Select Restore.
- That’s it. Your post is now restored to your timeline.
However, you cannot recover posts using this method if it is more than 30 days from deletion. If it has been 30 days, your post gets permanently deleted and you cannot recover it.
Restore Posts from Facebook Pages and Facebook Groups
Facebook also allows you to post content to numerous pages and groups. If you want to recover your posts on other pages and groups, you can use Method 2. All you have to do is selecting Pages and Groups along with Posts in Step 7. Other steps are the same as above. Follow them, and you will be able to recover all your posts from other pages and groups successfully.
Recover FB Post by Contacting Facebook Support
If you are facing any trouble with any of the procedures listed above or if any of the ways do not work for you, you can contact the Facebook Support Team. You can contact the support team by following the steps listed below and ask for help in recovering your deleted FB post –
- Go to the official Facebook Homepage and log in to your Facebook account.
- Click the drop-down icon on the top left corner.
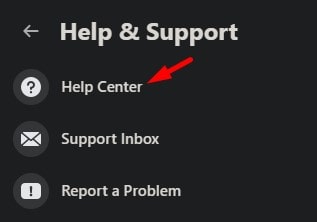
- In the listed options, find and select “Help & Support“.
- From the listed options, go to the “Help Center“.
- You can search for what you want in the search box given there. A list of articles that could solve your problem will appear. Select the article which best suits your problem and follow the instructions given there.
