McAfee’s family of security products is trusted by millions around the world – more than 500 million, in fact, as of January 2019. Customers rely on their services for a variety of protection needs, but most often from threats such as viruses, adware, spyware, and, sometimes, even ransomware. And while it works most of the time, it isn’t perfect. It’s not usual to see it quarantine files it thinks are malicious but you know are safe. Luckily, the software also comes with a built-in way to revert that action. So, without further ado, here’s how to restore quarantined files in McAfee.
What is McAfee?
McAfee is a security company that provides various security products to prevent malware attacks on your devices. McAfee Antivirus tool is one of them. The software helps to protect your computer from viruses and various other kinds of potential threats. As part of this, McAfee antivirus may falsely identify files as threats. In this scenario, you might want to restore those files from the quarantine.
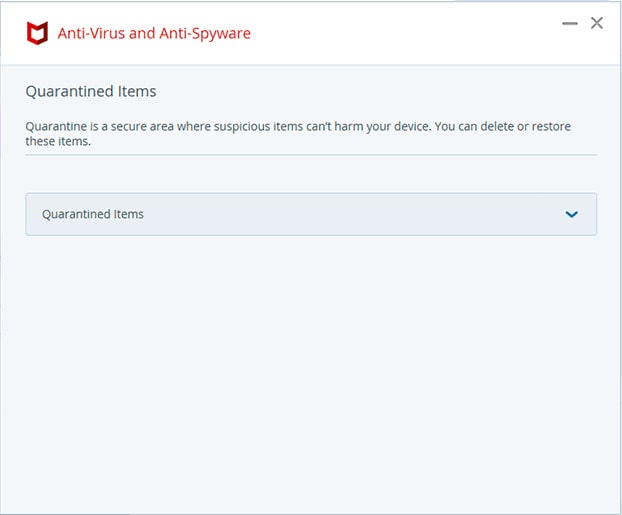
This is what the McAfee Quarantine looks like –

2 Ways to Recover McAfee Quarantine
Apart from McAfee specifically, you may also try to recover quarantined files on Windows as a whole. But if you are using McAfee, You can follow one of these ways to recover that files that have been identified as viruses by the McAfee tool.
1. Restore quarantined files via McAfee directly
We’ll start with a built-in way for quarantined file restoration in McAfee software based on the operating system. Let’s get into it.
1. McAfee PC Security
Follow these steps to restore files quarantined by McAfee VirusScan:
- Launch your McAfee software.
- Click on the cogwheel icon in the upper right corner.
- Click on Quarantined Items. On some software versions, the option is titled Quarantined and Trusted Items.
- Now, depending on the files you’re after, click on:
- Quarantined Items for individual files.
- Quarantined Potentially Unwanted Programs for executable files.
- When the option expands, select desired files, then click on the Restore button.
- Optional. If you trust the files in the quarantine, click on Restore All to save time.
- You can find the files in their original locations.
2. McAfee Internet Security for Mac
Follow these instructions to restore quarantined files by McAfee Active Protection on Mac:
- Click on the McAfee icon on the Desktop/Applications/Dock/Launchpad.
- When it opens, click on McAfee LiveSafe Internet Security, then select Mac Security.
- Click on Quarantine, then the padlock icon to unlock McAfee.
- Enter your Mac administrator password and click on OK.
- Begin selecting files you want to recover. Press and hold the Shift key if you want to select multiple files.
- Click on Restore, and items will be returned to their original locations.
- Click on the padlock icon again to prevent access to McAfee.
2. Restoring quarantined files in McAfee via data recovery software
The method above works great if the files are still in quarantine, and McAfee recognizes them. But what if they’re missing because you accidentally clicked on Delete, or some time has passed? We’ll tell you – you’ll have to rely on a third-party data recovery software to perform a deep scan, and put pieces back together. Then, you’ll need to repeat method 1 to see if new files appeared.
How does the process work?
It’s simple. Pick a favorite from our lists of the best data recovery software for Windows and software for data recovery on Mac. Most of them offer either free recovery or free trial. For a step-by-step guide, check methods 3 and 4 of our Recycle Bin recovery guide. To save time, instead of doing a scan of the entire storage, point it to the McAfee Quarantine folder. Its location on Windows 7, 8, and 10 is, by default: C:\ProgramData\McAfee\VirusScan\Quarantine.
How to exclude files from McAfee scans?
There could be situations you might want to exclude files from being quarantined by McAfee over and over again. To exclude files from McAfee, follow these steps:
- Open McAfee and click on the “Virus and Spyware Protection” tile.
- Click on the “Real-Time Scanning” option.
- Click on “Excluded Files and Folders” and then click on “Add file”.
- Browse for the file you want to exclude and select it. Then click “Open”.
- Click “Apply” and then “OK” to save the changes.
The file you excluded should now be excluded from McAfee scans. Keep in mind that, if you exclude any potential threats, the antivirus software may not be able to prevent damages caused by it. Be sure to verify the authenticity of the file before excluding it from the scanning.
